Looking to learn how to build your own knife throwing target? Look no further! Whether you want to practice for knife throwing leagues, or just want a fun backyard activity, our guide has you covered.
We’re here to help with our guide on how to build your very own DIY knife (or axe) throwing target at home! If built properly, this target meets the World Knife Throwing League Specifications and will match the targets found at competitions and many venues.
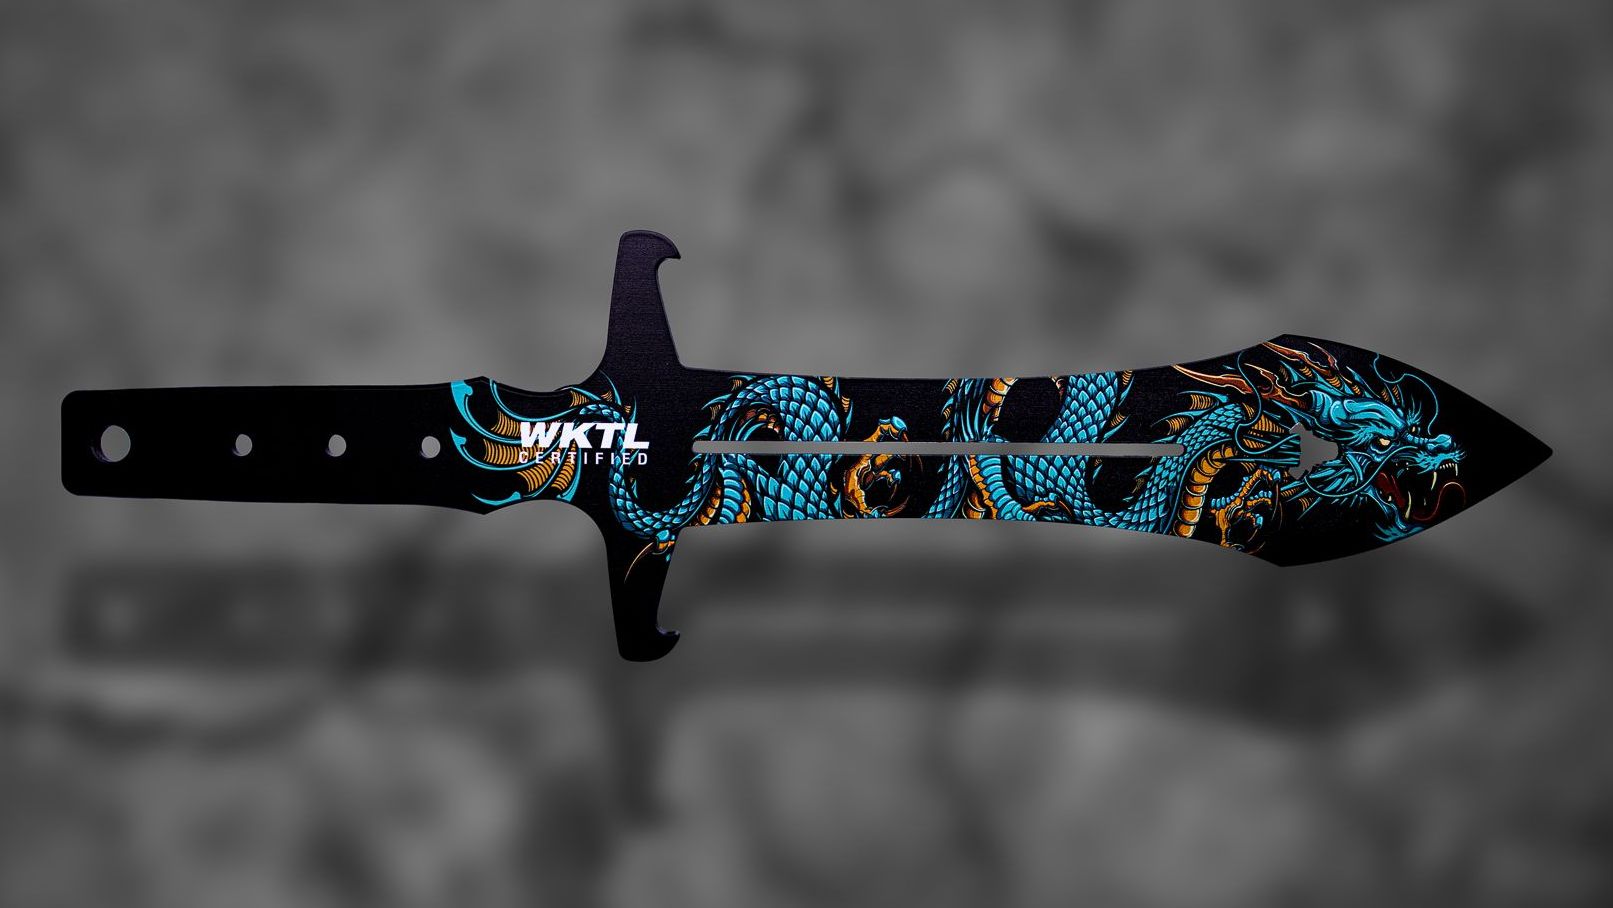
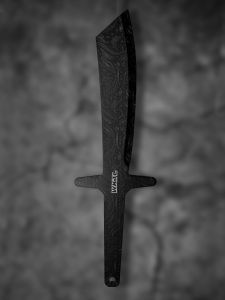
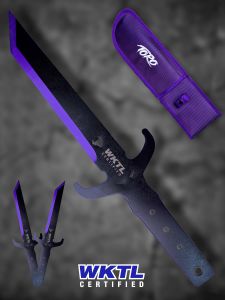
Of course, you’re going to need something to throw at your target as well! make sure to check out WKTL Throwing Knives, or Toro Knives (the exclusive provider of WKTL Certified Knives). You’ll also need markers, and a stencil in order to build your own knife throwing target
We’ve linked a PDF explaining how to build your knife throwing target below:
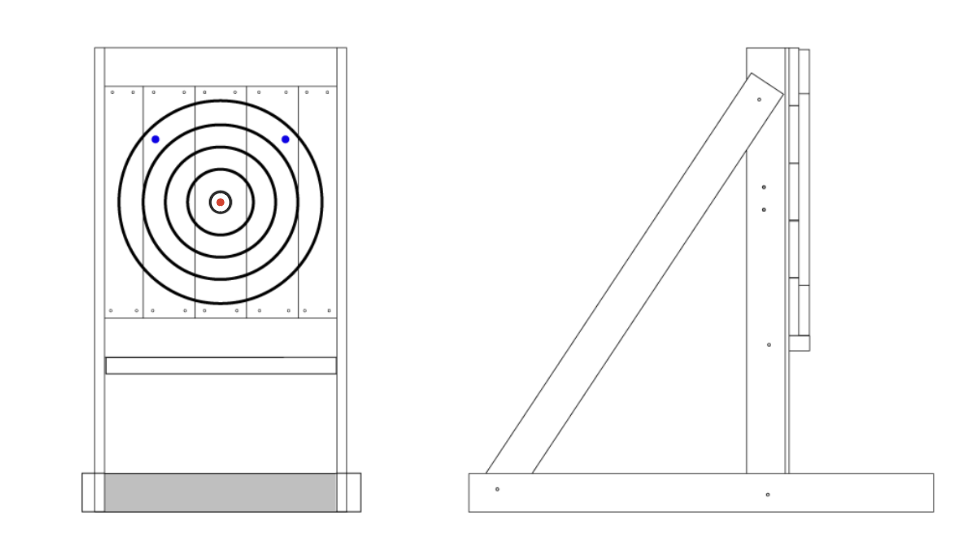
Screw the front and back spreaders to the ends of the bottom lengths.
Screw a spreader approximately in the center of the bottom lengths.
Screw one of the upright vertical length spreaders to the top of the vertical lengths. It should be flush with the front of the vertical lengths.
Screw the other upright vertical length spreader to the vertical lengths, the TOP of the spreader should be 3 feet (36 inches) from the bottom of the vertical lengths, and it should stick out 1 1/2 inches to the front of the vertical lengths (the width of your 2x10x4’ backboard). *You may need an assistant to help with step 5 and 6 below
Screw the vertical lengths to the inside of the bottom lengths. The CENTER of the vertical lengths should be at 12 inches from the front of the bottom lengths. *Pro Tip: use your level to ensure that the verticals are STRAIGHT.
Screw the diagonal support lengths first to the back of the bottom lengths (inside them), then to the inside of the vertical lengths.
Screw the filler lengths to the front facing part of the vertical lengths. They should be flush to the top of the spreader from step 4. Some of the 2×4 filler will stick out to the sides. The purpose of these are to give something to screw the bottom ledger board into. *Pro Tip: If the extra bits sticking to the sides bothers you, rip the pieces to 1 1/2 inches wide so they are also flush with the vertical supports.
Screw the ledger board to the front of the uprights. The TOP of the ledge board should be at exactly 36″ from the ground. *Pro Tip: Use your level to ensure that it is straight across the length of it.
Screw the target backboards into the frame horizontally across the front of the target.
Find the center point of your target, line it up with the center of one of your front target boards, and screw the boards into the backboard. Continue screwing in the vertical target boards outwards from that center board.
Use the Stencil to draw on your targets. Make sure to follow the rules on height measurements for WKTL targets you can find here in Section H of the rules page.
As mentioned before, you’ll need both a stencil and a set of markers in order to get your target drawn. These can either be purchased separately from the WKTL links above, or ordered together in this bundle from WATL. This bundle includes 3 markers (1 of each color) and WATL’s newest stencil design.
Furthermore, if you’re practicing for leagues, it’s important that your throwing knives fit within the WKTL Rules. These knives can easily be purchased directly through WKTL or from Toro Knives.
Now that you know how to build a knife throwing target, you might be looking to buy a set of throwing knives. Each throwing knife has many different characteristics to think about, such as weight, overall length, thickness, blade length, and whether or not it fits within competition specifications. We’ve created a resource to help you pick which throwing knife is right for you.
Some of our best and most popular throwing knives can be found below.

We hope this guide will help you get set up and ready to practice at home and with your friends. While you practice, as always check out The World Knife Throwing League on Instagram and Facebook or join our Facebook Group for awesome discussion, posts and community stories!